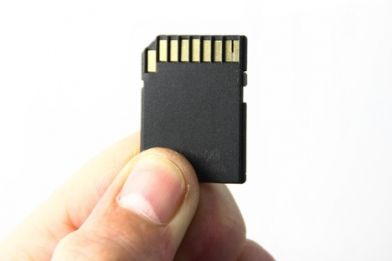
Memory cards were once a mainstay of daily life. They were used in digital cameras, mobile phones and video recorders. However now mobile phones do everything for us and use much smaller cards than ever before. This means that many of us are left with memory cards floating around that are full of memories that we can seldom remember. As a result, our curiosity gets the better of us from time and time and we insert them into our computer to see what trips down memory lane they will take us on. However sometimes disaster strikes when we accidentally format our cards or suspect it has become corrupted. If this should happen, there are certain steps you can take to help you recover your long lost photos.
Number one: Don't do anything to your memory card once you realise photos have been deleted; don't take any additional photos on the card and remove it from the camera immediately.
Number two: Choose a recovery suite. Many of these are free to download and all come with reviews, so check out what looks most reliable – you only really get one shot at it! However some cards already come with a suite, so it’s worth checking first.
Number three: Once you’ve discovered whether you need to install one, or you’re lucky enough to have one to hand, it’s time to set up the software on your PC or Mac. Some software is simpler to use than others, so check out a tutorial if you’re unsure. Recuva is a good free to install software for PCs and is fairly simple to use. Start up the program and choose what types of files you want to try and retrieve – in this case – photos.
Search through the menu until you reach the screen telling you which location to look in. Plug your card reader into your computer and select the root directory of where your camera stores its images. This is usually a folder called DCIM, or the name of the camera manufacturer or model.
PhotoRec is a good program for Macs, however it is more complicated than the above due to it being a command-line interface as opposed to a graphical one.
Once you start up PhotoRec, you may have to enter your Mac password so the program can have access to all drives. Once this is done, you can select the drive that you want to recover (your memory card) using the arrow keys. It may not be obvious by name, so judge by the size. Once you’ve found it, press enter to proceed and choose the FAT16/32 partition so you can scan the directory structure that was set up by your camera/video camera/phone. Press enter to keep going to the next menu, and select the other option, FAT/NTFS.
The next screen will tell the program where to look for the files. If you think your memory card is corrupted, use the "Whole" selection, but for deleted files, use "Free". Hit enter again and choose where to save recovered files. Press ‘C’ to confirm, before starting the recovery process. The scan will then run and you’ll be able to see what files appear.
Number four: Once you’ve got your photos back, it’s time to back them up on a cloud of external device!
If the above doesn’t work, you could try a professional data recovery service. These can be costly though, so decide whether it’s worth the price tag. Good luck!
